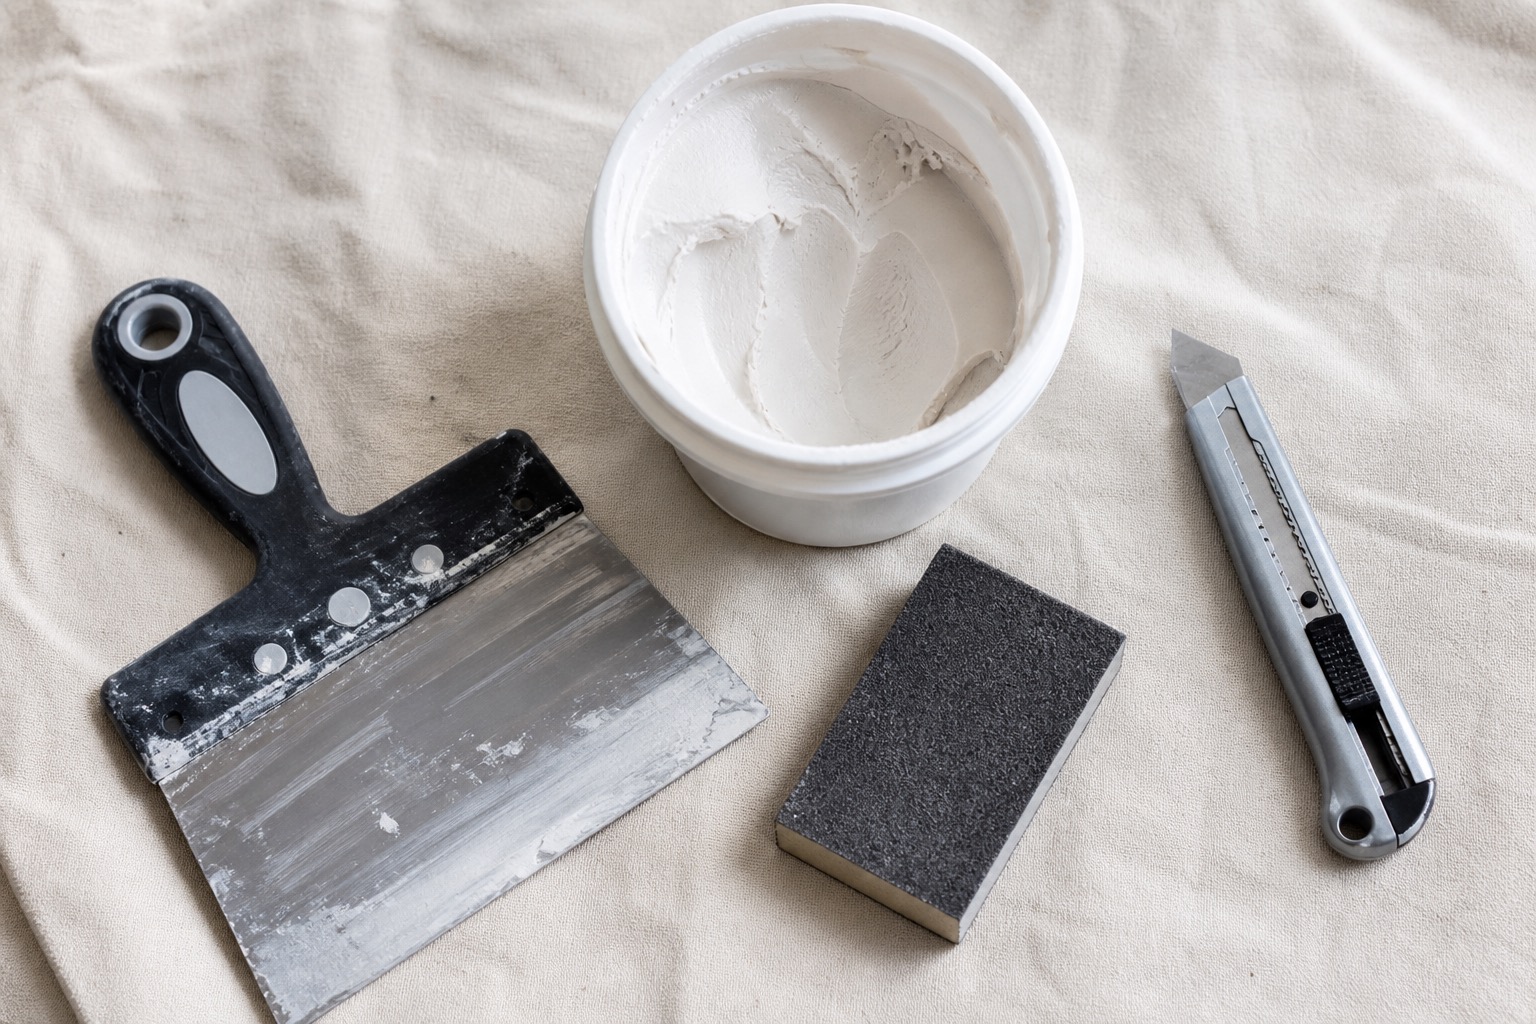
Drywall Repair Steps for Clean Walls
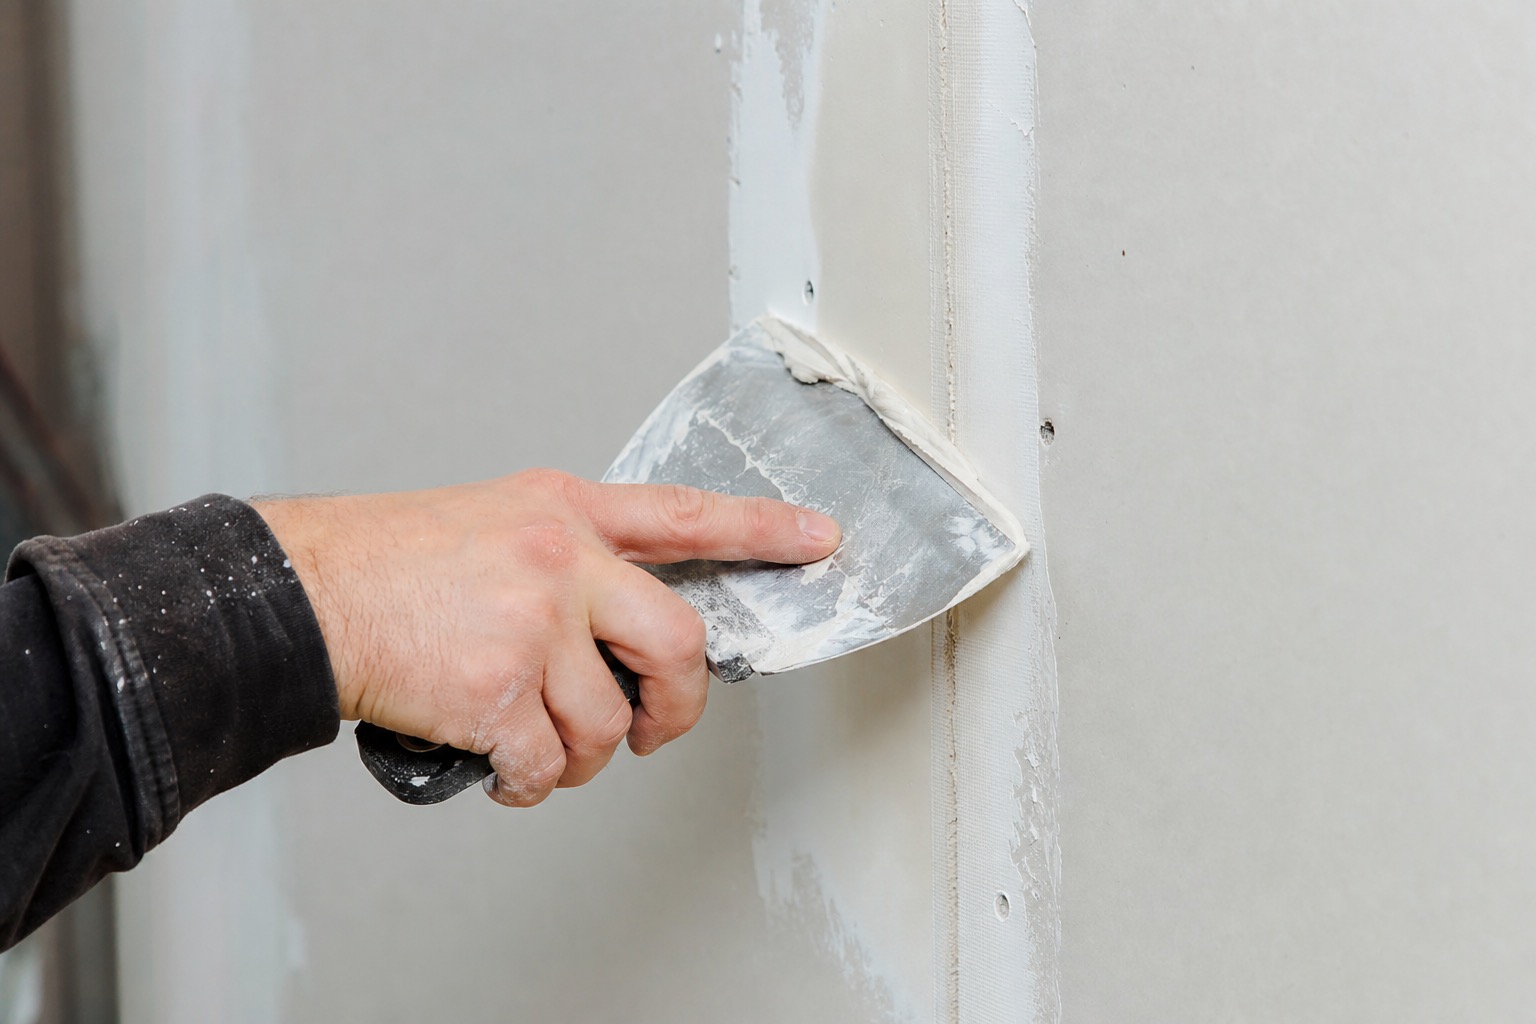
A clean, invisible drywall repair comes down to following the right steps in the right order, not just filling a hole and hoping for the best. Here's the process B&M Painting and Construction follows for drywall repair on London, KY homes.
Step One: Assess the Damage
We start by identifying the type of damage — a small nail hole, a larger impact hole, a crack, or water damage — since each requires a slightly different repair method and materials.
Water-damaged drywall gets special attention to confirm the moisture source has been addressed before any repair work begins, since patching over an active leak only hides the problem temporarily.
We also photograph larger repairs before and after completion, which gives homeowners a clear record of the work and helps us reference the repair if any related issue comes up during a future project in the same room.
Step Two: Clean Up the Repair Area
Loose or crumbling drywall is cut back to a clean, solid edge, and any dust or debris is removed so the patch material has a stable surface to bond to.
For larger holes, we cut a clean rectangular or square opening, which makes fitting a replacement drywall patch far easier and more precise than working around a ragged edge.
We also confirm that any exposed insulation or framing behind a larger hole is in good condition before patching, since covering up a hidden issue behind the drywall only delays a more serious repair down the road.
Step Three: Apply the Patch or Tape
Small holes may only need a self-adhesive mesh patch, while larger openings require a cut piece of drywall secured with backing and joint tape along every seam.
Getting this step right is essential, since a poorly secured patch is the most common reason a repair cracks again within a year.
For repairs near corners or where two different wall textures meet, we take extra time blending the patch so it reads as part of the original wall rather than a distinctly separate section once painted.
Step Four: Build Up Joint Compound in Thin Coats
We apply joint compound in two to three thin coats rather than one thick layer, letting each coat dry fully and sanding lightly between applications. Each coat is feathered slightly wider than the last to blend the repair into the surrounding wall.
This layered approach is what makes the difference between a repair you can feel with your hand and one that's completely smooth once painted.
For repairs in high-traffic hallways or near doorways in London, KY homes, we sometimes recommend a slightly wider feather than usual, since these areas tend to get bumped and need a more gradual, durable transition into the surrounding wall.
Step Five: Final Sanding and Priming
Once the final coat is fully dry, we sand the area smooth and wipe away dust before applying primer directly over the repair. This step prevents the repaired area from absorbing paint differently than the rest of the wall.
At this point, the wall is ready for paint, and the repair should be invisible under normal lighting once the finish coat is applied.
Once the repair is primed, we hold a work light at a low angle against the wall one final time to confirm the surface reads as perfectly flat before calling the repair complete.
Common Mistakes That Undo a Good Repair
Skipping sand time between coats, using too much compound in a single pass, or forgetting to prime the repair before painting are the most common reasons a drywall patch becomes visible later.
We built our five-step process specifically to avoid these shortcuts, even when a repair looks simple enough to rush.
We also confirm with the homeowner which paint sheen will be used on the finished wall before completing the final sanding pass, since a higher-gloss finish shows more surface imperfection than a flat paint and may call for an extra-smooth final result.
Conclusion
Getting the details right on drywall repair steps for clean walls is part of how B&M Painting and Construction delivers lasting results for drywall repair across London, KY. If you have questions about your own project, our team is happy to help.
Frequently Asked Questions
Most drywall repairs need two to three thin coats, each sanded lightly before the next is applied, to build a smooth, feathered finish.
Yes, small holes can often be filled with a self-adhesive mesh patch or spackle without needing full joint tape.
Yes, we confirm the moisture source has been resolved before patching, since repairing over an active leak only hides the problem temporarily.
This usually means the joint compound wasn't feathered wide enough or sanded smoothly, leaving a slight ridge that's noticeable to the touch.