Window and Trim Painting Protocols
Trim and windows take more visible abuse than any other surface in a room, and they show sloppy paint work faster than a plain wall does. In London, KY homes, B&M Painting and Construction follows a consistent set of protocols for window and trim painting so lines stay crisp and finishes hold up to daily contact.
Why Trim and Windows Need a Different Approach
Trim and window casings are usually painted in semi-gloss or gloss finishes, which highlight every brush stroke, drip, and missed spot far more than a flat wall paint would. That means the prep work and application technique for trim has to be more careful than for broad wall surfaces.
Windows also involve moving parts — sashes, tracks, and hardware — that need to keep functioning after the paint dries. Painting over a window incorrectly can seal it shut or leave hardware gummed up with paint, which is why our crew treats window trim as its own step rather than an afterthought.
This distinction matters most in kitchens, bathrooms, and hallways in London, KY homes, where trim and door casings take repeated contact from hands, bags, and cleaning cloths. A wall paint mistake is easy to touch up unnoticed, but a trim mistake sits at eye level under raking light from nearby windows, which is exactly why we treat this surface with extra patience rather than rushing through it at the end of a job.
Cleaning and Sanding Before Any Paint Goes On
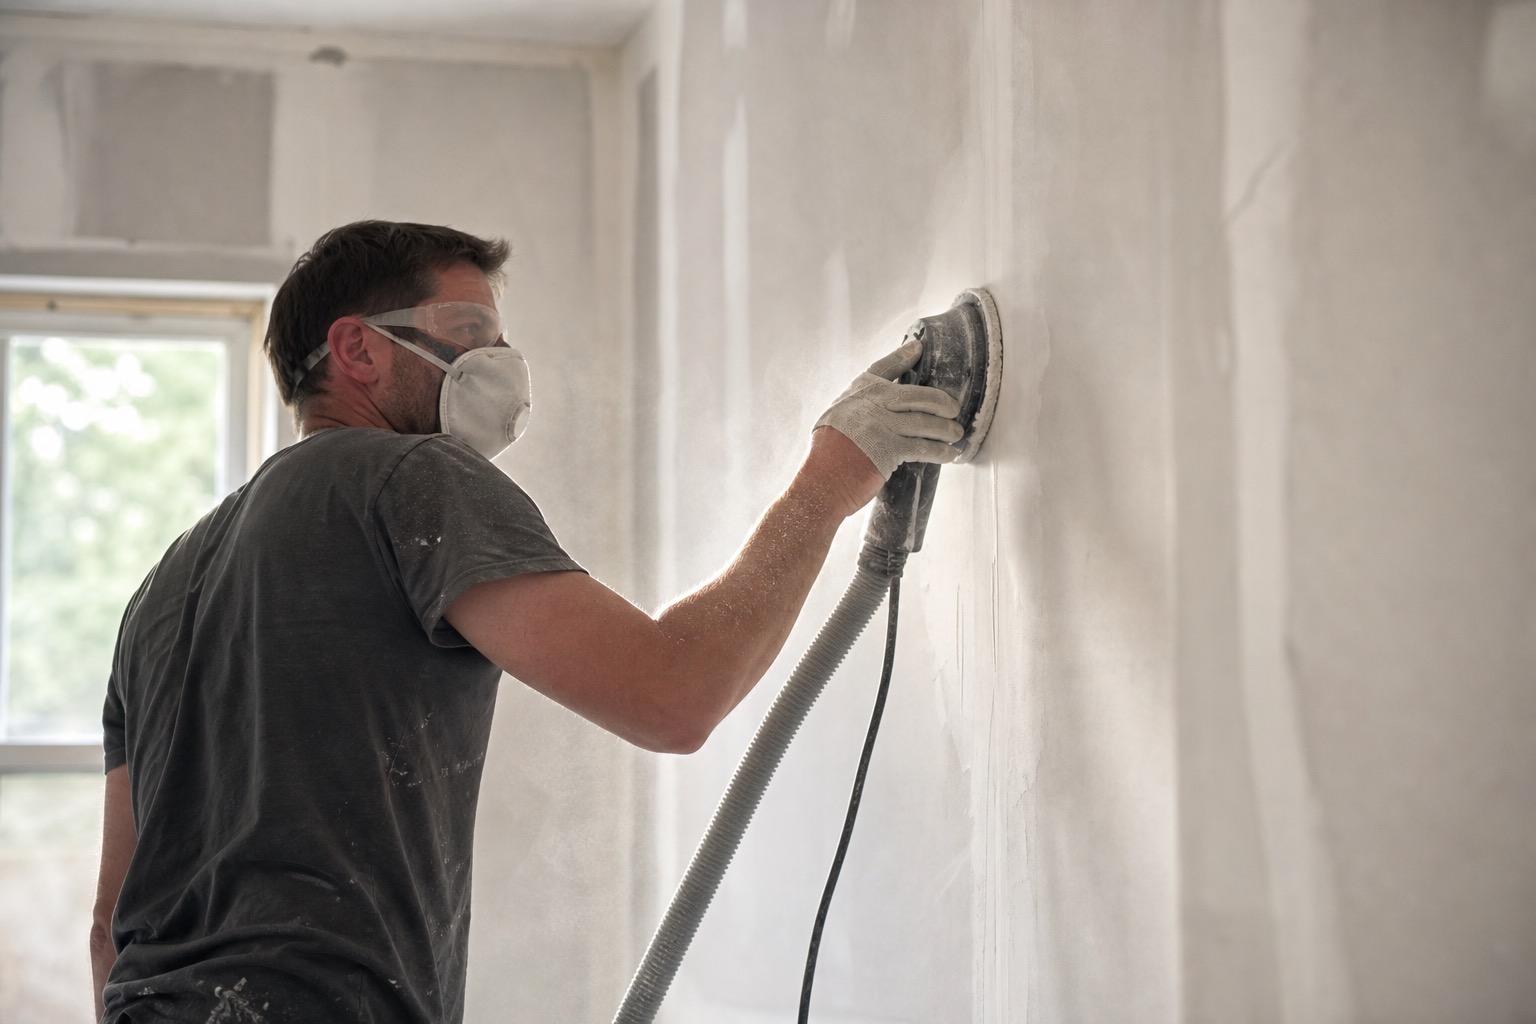
Trim collects grease, dust, and handprints faster than walls, especially around doors and window sills. We start every trim job with a full wipe-down using a mild cleaner, followed by a light sanding with fine-grit sandpaper to knock down the sheen of the old finish so new paint adheres properly.
Any dents, gouges, or old caulk lines are filled or scraped clean at this stage. Skipping this step is one of the most common reasons trim paint peels or shows texture within the first year.
Old caulk lines around window frames often crack or shrink over time, and painting over failing caulk without replacing it first just locks the gap in place under a fresh coat. We remove and re-caulk any failing joints before sanding, so the trim looks and performs like new rather than simply looking new for a few months.
Masking Glass and Hardware the Right Way
Painter's tape alone rarely gives a perfectly clean edge against glass, so we combine tape with a careful hand-cut line using a sharp trim brush. For hardware like hinges and window locks, we remove what we can and mask the rest tightly to avoid paint buildup that prevents proper function later.
Rushing the masking stage is where most DIY trim jobs go wrong, since bleed-through under loose tape edges is nearly impossible to fix once the paint has dried.
We also check that the tape itself is fully sealed along its edge before painting, running a fingernail or a small tool along the border to press it flat. Any gap in that seal lets paint creep underneath, which shows up as a fuzzy or uneven line once the tape is removed and is one of the most frustrating small mistakes to fix after the fact.
Brush Technique for Clean, Straight Lines
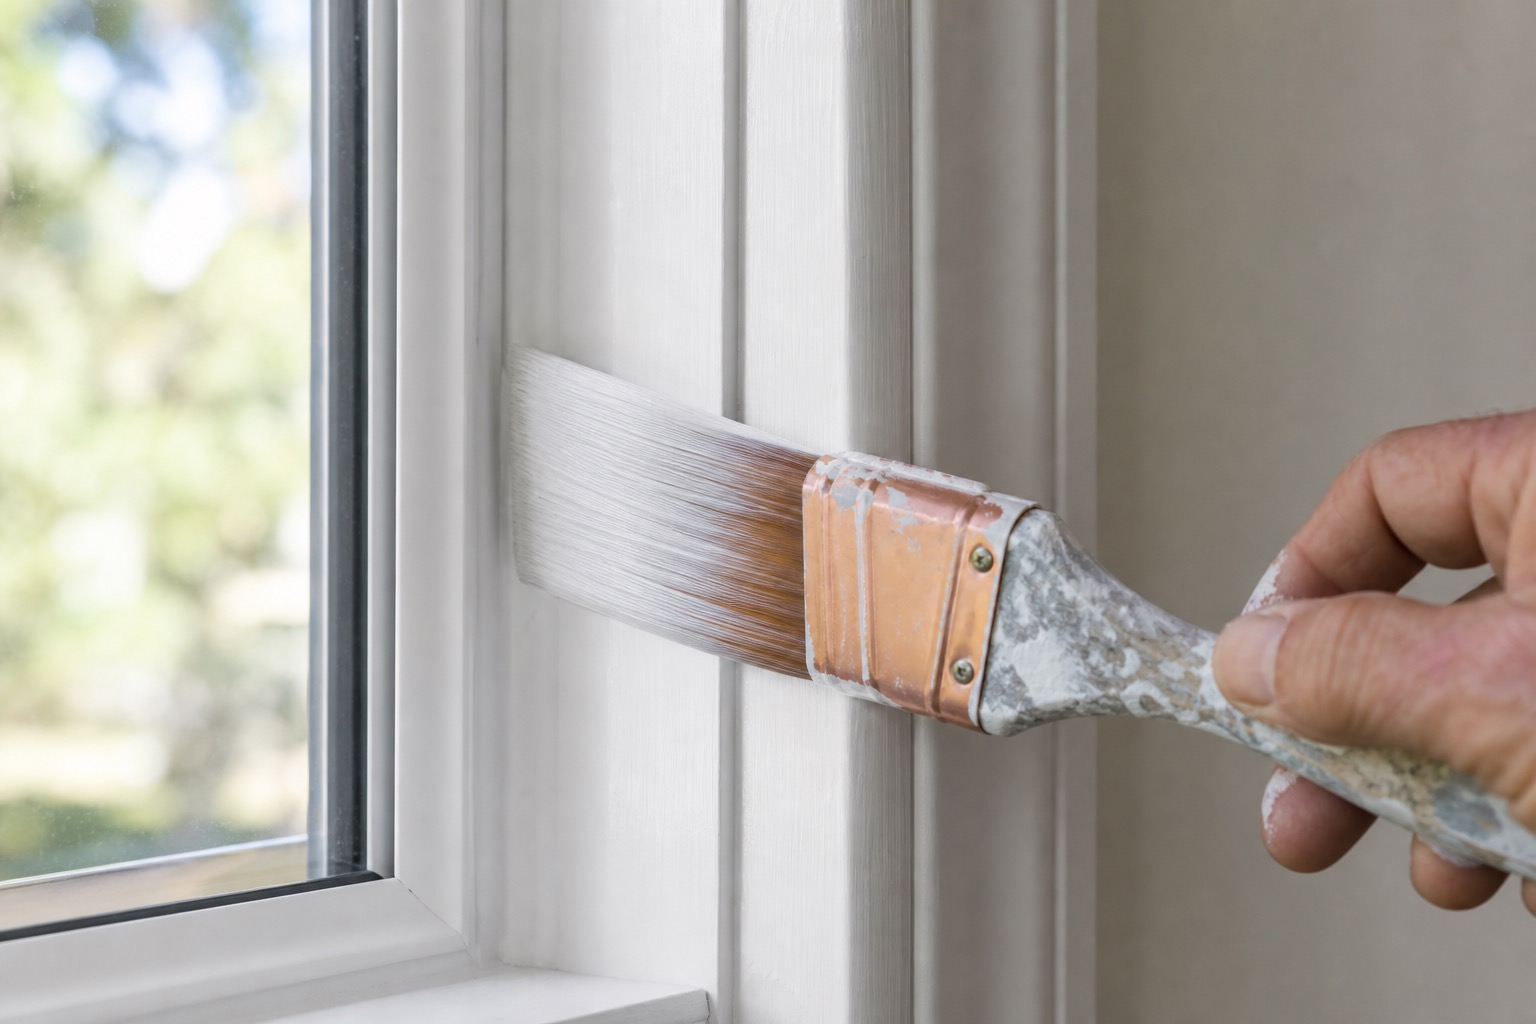
We load the brush lightly and work in long, controlled strokes along the length of the trim rather than short, choppy strokes that leave visible overlap marks. Cutting in against the wall or glass is done last, once the main trim surface has an even base coat.
For window sashes, we paint in the order that lets moving parts operate before the final coat fully cures, keeping the window functional throughout the project instead of painted shut.
Drying Time and Reopening Windows Safely
Even fast-drying trim paints need real cure time before a window sash should be opened and closed repeatedly, since doing so too early can crack the finish along the moving edges. We typically wait at least 24 hours before operating painted windows normally.
For homes in London, KY where humidity can slow drying, we adjust timelines and may recommend a dehumidifier or extra ventilation to keep the schedule on track without sacrificing finish quality.
For homes with older, original windows in London, KY, we're especially careful about paint buildup in the track, since decades of repainting without proper masking can eventually make a window difficult to open at all. Clearing tracks before painting keeps these original features functional for years to come.
Choosing the Right Sheen for Long-Term Durability
Semi-gloss remains the most common choice for trim because it balances durability with a manageable amount of sheen, but high-gloss is worth considering in kitchens, bathrooms, and homes with kids or pets where trim gets wiped down frequently.
We walk through sheen options with every London, KY customer before starting a trim project, since the right choice depends as much on how the room is used as on personal style preference.
Conclusion
Getting the details right on window and trim painting protocols is part of how B&M Painting and Construction delivers lasting results for interior painting services across London, KY. If you have questions about your own project, our team is happy to help.
Frequently Asked Questions
We recommend waiting at least 24 hours before regularly operating a freshly painted window sash so the finish has time to cure along the moving edges.
Semi-gloss or gloss finishes are typically best for trim and windows because they resist scuffs and clean easily, though they do show imperfections more than flat paint.
Yes, we can mask hardware carefully if it can't be removed, though removing hinges and locks when possible gives the cleanest result.
Yes, dents, gouges, and gaps in trim are filled and sanded smooth as part of our standard interior painting protocol.